Upload a drawing or photo of a floor plan, set the scale with one line, and walk through the house in 3D. When the walls are found with confidence, there are no steps in between.
From a floor plan to walking through it: step by step
1. Start in 3D
Open 3D on an empty plan and click Upload a plan and walk through it. Pick a photo, scan or PDF of the plan.
2. Set the scale
Click two points you know the distance between, and type the real length. We then find the walls right away.
3. Walk
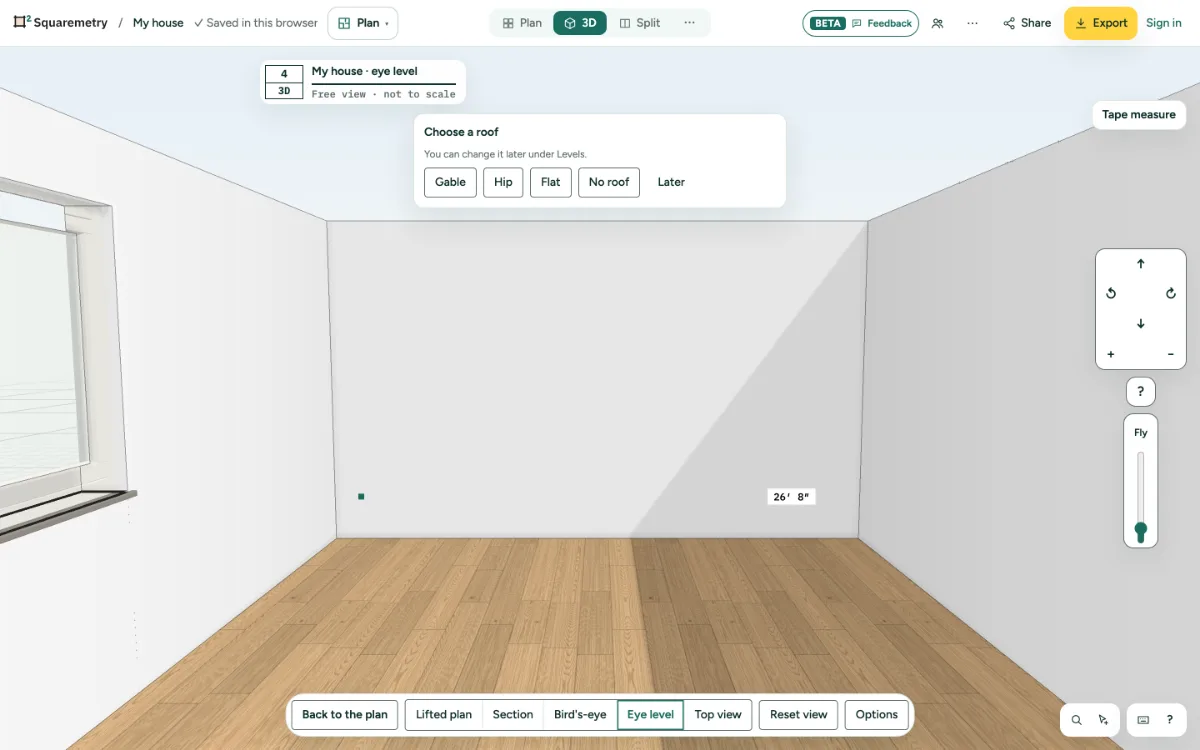
When the walls look sure, they go into your plan in one step. 3D opens: the walls rise from your drawing, then you stand at eye level in the largest room. Walk with W A S D or tap the floor.
4. Choose a roof
Pick Gable, Hip, Flat or No roof, or Later. One undo takes the roof away again.
5. When walls need a check
If some walls are not sure, the proposal stays in Trace a floor plan. Keep or drop them, then click Place and walk in 3D.
Messages you may see
- Set the scale first, so the walls get the right size.