Click point after point. When lines close a flat loop, a face appears. Every line is one step in the history.
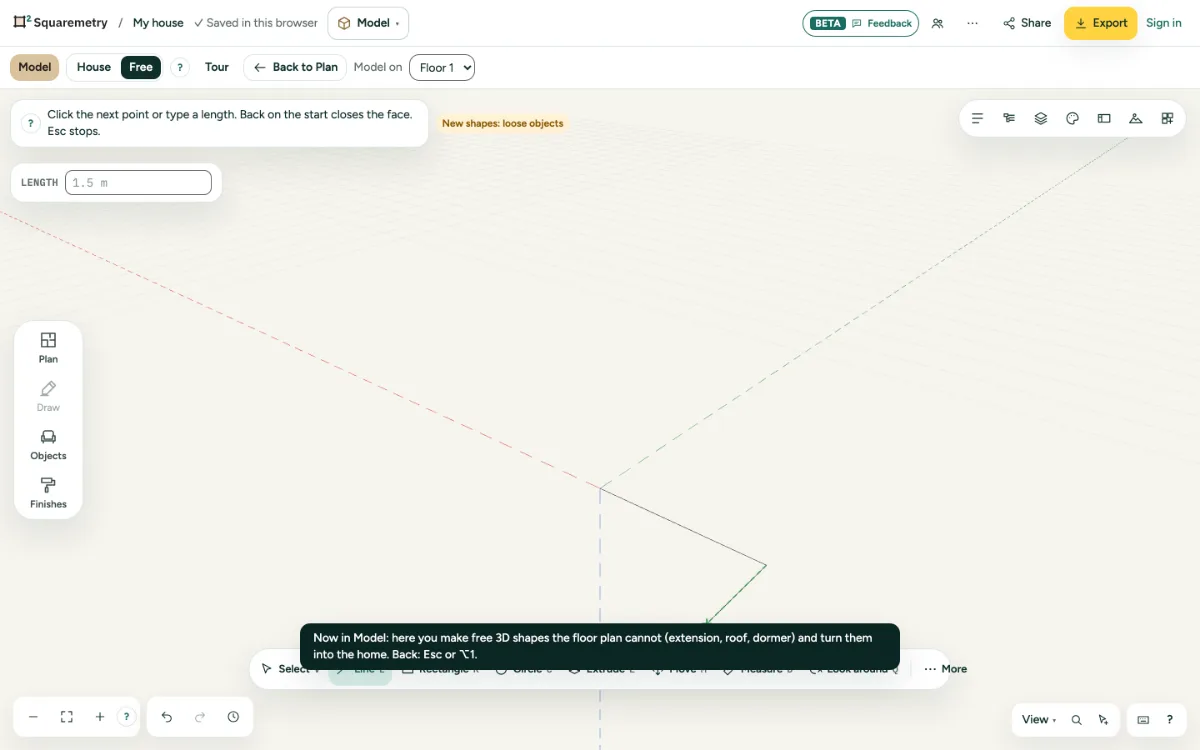
Model: draw lines, faces close by themselves: step by step
1. Draw
Press L, click the start and click each next point. Type a length and press Enter for an exact line in the direction of the mouse.
2. Snap
The marker shows what you snap to: Endpoint, Middle, On edge, On face, Along red, green or blue, Parallel or Square to edge. Each has its own shape and colour.
3. Lock a direction
Hold Shift to keep the direction you snapped to. The right arrow locks red, the left arrow green, the up arrow blue; the down arrow frees it.
4. Close or stop
Back on the start closes the face. Esc stops. Lines that are not in one plane give no face.
Parts on the screen
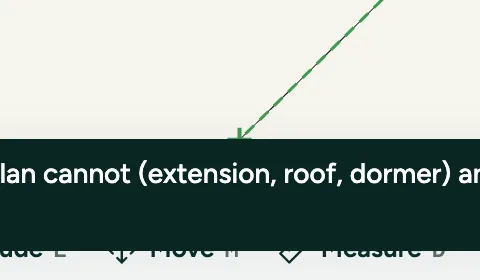
Snap marker. The shape and colour of the marker say what you snap to, with its name next to the mouse.
Shortcuts
- L
- Model: line
- Esc
- Stop, then Select, then let go
Messages you may see
- Face closed.
- Not closed yet, so no face. Draw back to the start point.
- Closed, but not flat: no face. Lines must lie in one plane to make a face.