A net of triangles on the plot that you shape: a slope, a mound, a sunken terrace. Made from a grid or from contour lines.
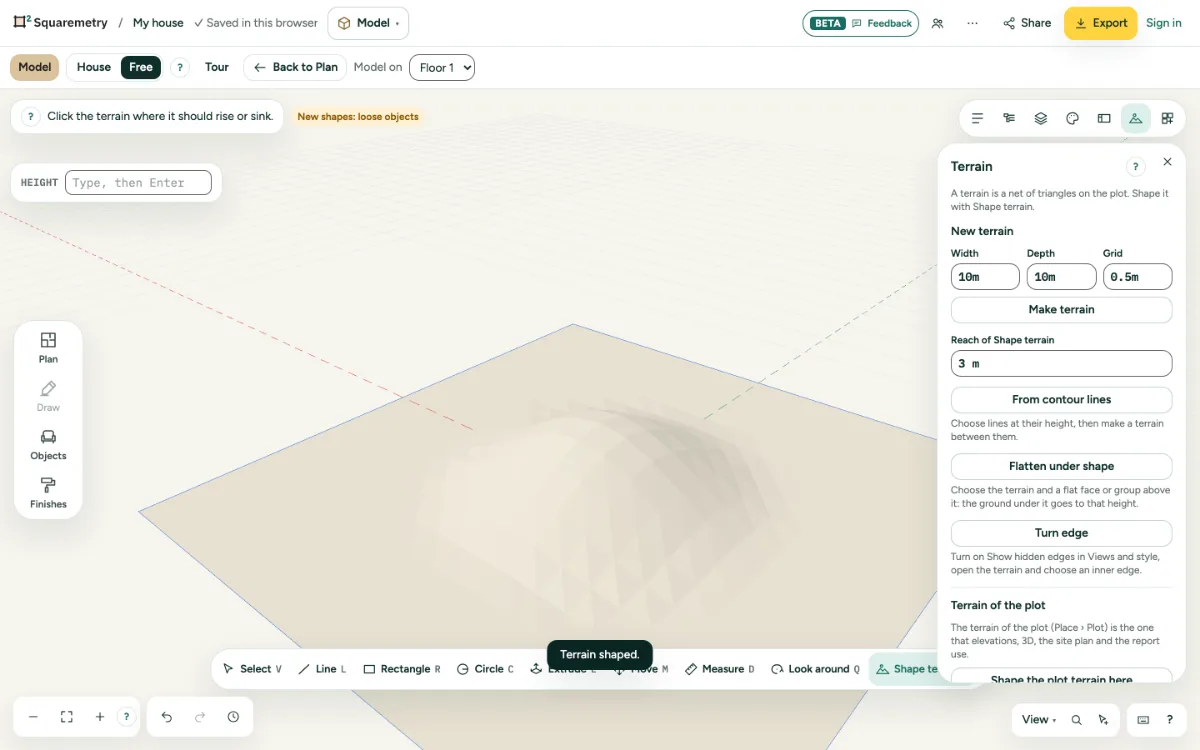
Model: terrain: step by step
1. New terrain
Open Terrain on the right, set width, depth and grid and click Make terrain. It is placed with the house in the middle.
2. Shape it
Press B, click the terrain, move up or down and click, or type a height (minus sinks). Everything within the reach follows softly.
3. From contour lines
Draw lines at their heights, choose them and click From contour lines.
4. Flatten and turn edges
Choose the terrain and a flat face above it, then Flatten under shape. With Show hidden edges on, Turn edge flips the edge between two triangles.
5. The terrain of the plot
Elevations, 3D, the site plan and the report use the terrain of the plot (in Plan: More › Outside › Plot). Click Shape the plot terrain here: its heights come into Model as a terrain on the plot. Shape it, choose it and click Use as terrain of the plot: the heights go back to the plot and the copy leaves Model. While the copy is in Model, 3D shows only the terrain of the plot, so there is never a second ground in the picture.
Shortcuts
- B
- Model: shape terrain
Messages you may see
- Choose a size of at least 1 cm and at most 100 by 100 squares.
- Click on a terrain. Make one in the Terrain panel.
- Ground flattened under the shape.
- Choose one terrain first.