Set what a new plan starts with: units, standard, wall thickness, ceiling height, paper and your own set of room types.
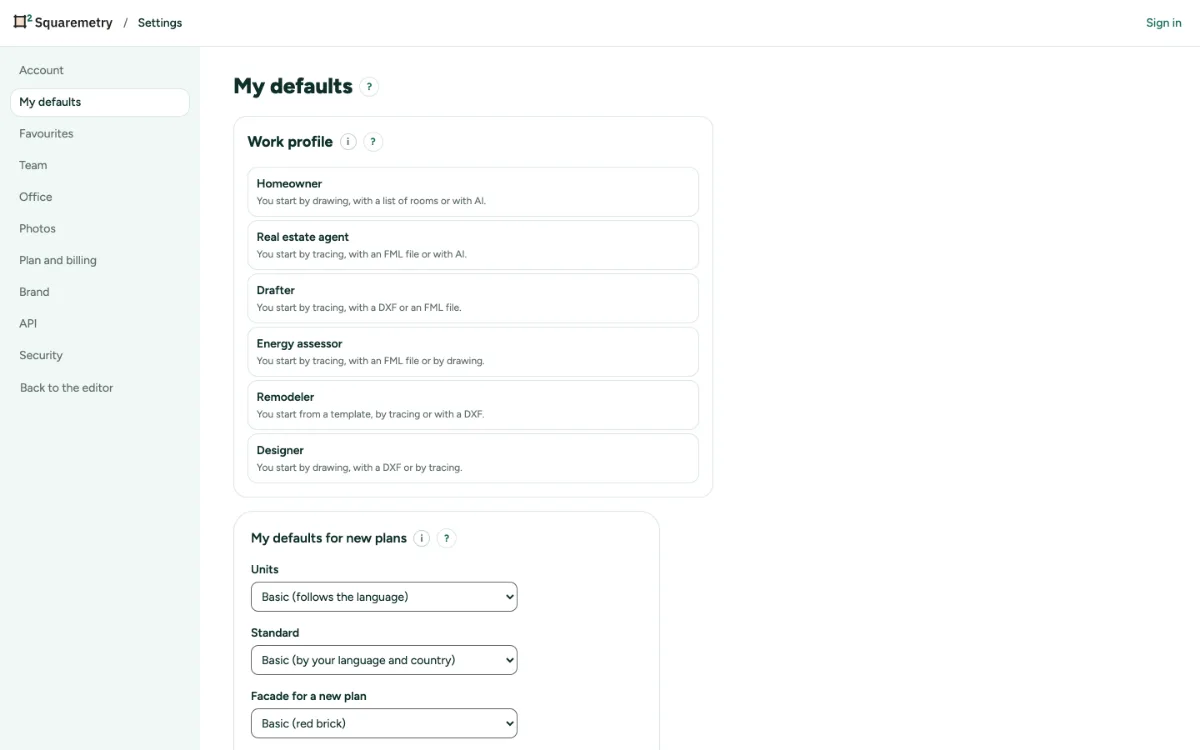
My defaults for new plans: step by step
1. Open My defaults
Open Settings, tab My defaults, or search My defaults with ⌘K. This works without an account; it is then kept in this browser.
2. Pick your values
Choose Units, Standard, the Dimensions in a new plan and the paper for export. Type sizes for walls, ceiling, doors and windows. An empty field means Basic. Basic for dimensions is Outside, on the left and at the bottom. A door, or the top of a window (sill plus height), must fit under the ceiling; otherwise nothing is saved and one line says why.
3. Save
Click Save my defaults. Plans you already have do not change. Reset to Basic clears everything but your room types.
4. Your room types
Under My set of room types, type a Name, pick a Kind and click Add type. In the card of a room, open the Kind list and pick My set at the top to use them. Up to 60 types.
Messages you may see
- Saved. New plans start with these.
- Saved in this browser. New plans start with these. Sign in to keep them in your account.
- These apply to plans in your units. A plan in the other units starts on Basic.